VMO Strengthening Exercises in the Gym: 7 Moves + Plan (2026)
The 7 best VMO strengthening exercises for the gym, how to do each with good form, and a simple 8-week plan for stronger quads and better knee control.

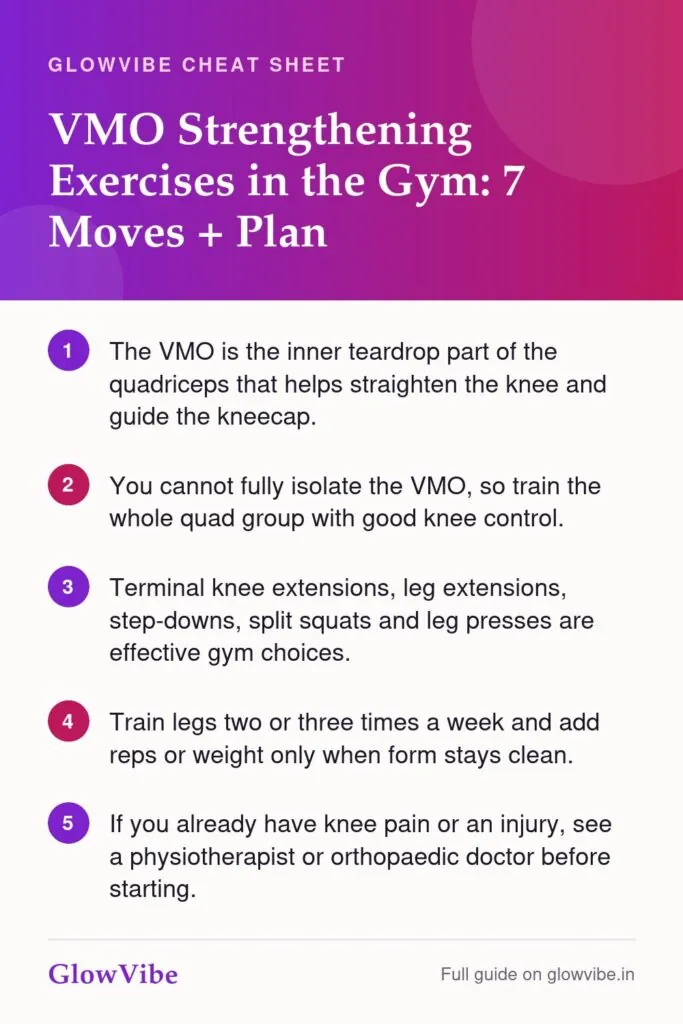
The best VMO strengthening exercises in the gym are terminal knee extensions, leg extensions, step-downs, split squats, wall sits, leg presses and goblet squats, done with controlled form and a slow, steady build-up in load. Do them two or three times a week, and focus on owning the last few degrees of knee straightening, where the inner quad works hardest.
This guide explains what the VMO actually is, what it can and can’t do for your knees, how to perform each exercise properly, and a simple gym routine you can follow from this week. If you already have knee pain or a knee injury, read the safety section first. Strength work can be part of recovery, but a physiotherapist or orthopaedic doctor should guide it.
What is the VMO and why does it matter?
The vastus medialis oblique (VMO) is the lower, teardrop-shaped part of the vastus medialis, one of the four quadriceps muscles on the front of your thigh. You can see it just above and to the inside of your kneecap when you straighten your leg and squeeze your thigh.
Its fibres run at an angle and attach to the inner edge of the kneecap. Together with the rest of the quads, it helps straighten the knee and controls how the kneecap moves in its groove as you bend and straighten. That’s why it gets so much attention from physios, runners and lifters.
Strong quads make everyday tasks easier: climbing stairs, getting up from a low chair or squatting down in an Indian-style toilet, carrying shopping up to a third-floor flat. They also help you absorb load during running, jumping and sports like badminton and cricket.
Can you really isolate the VMO?
Honest answer: not completely. The VMO shares nerve supply and tendon with the rest of the quads, so any exercise that straightens your knee against resistance works all four quad muscles together. Research has not clearly shown that any one exercise switches on the VMO on its own.
That’s good news, because it means you don’t need gimmicks. What you can do is:
- Train the full quad group well, with exercises that take your knee forward over your toes under control.
- Spend time near full knee extension, the last 20–30 degrees of straightening, where the inner quad is clearly working.
- Control your knee position so it tracks in line with your second toe instead of caving inward.
- Strengthen your hips too, because weak glutes often let the knee drift inward during squats and step-downs.
VMO exercises at a glance
| Exercise | Equipment | Level | Main focus |
|---|---|---|---|
| Terminal knee extension (TKE) | Resistance band | Beginner | Last degrees of knee straightening |
| Leg extension | Leg extension machine | Beginner | Quad strength in a controlled path |
| Wall sit | Wall | Beginner | Quad endurance with little movement |
| Step-down (front or lateral) | Low box or step | Beginner to intermediate | Single-leg control and knee alignment |
| Split squat / VMO lunge | Dumbbells (optional) | Intermediate | Single-leg strength, knee over toes |
| Leg press | Leg press machine | Intermediate | Heavier quad loading with back support |
| Goblet squat (heels raised) | Dumbbell or kettlebell, small plates | Intermediate | Deep knee bend with an upright torso |
The best VMO strengthening exercises in the gym
Start with the first three if you’re new to leg training, and add the rest as your strength and confidence grow. Every exercise should feel like muscle effort in the front of the thigh, not sharp pain in or around the kneecap.
1. Terminal knee extension (TKE)
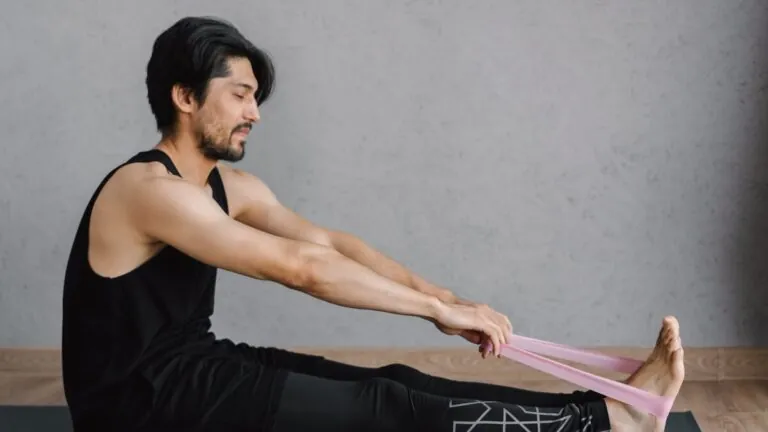
This is the classic VMO exercise because it trains the final part of knee straightening. Loop a resistance band around a sturdy pole or rack at knee height and step into it so the band sits behind your knee.
- Stand facing the anchor with the band pulling your knee slightly forward into a soft bend.
- Straighten the knee fully by pushing it back against the band, squeezing your thigh hard.
- Hold for 2 seconds, then let the knee bend slowly forward again.
- Do 2–3 sets of 15–20 per leg.
- Pros: very low load on the joint, easy to learn, great warm-up.
- Cons: limited strength gains on its own; pair it with heavier moves.
2. Leg extension
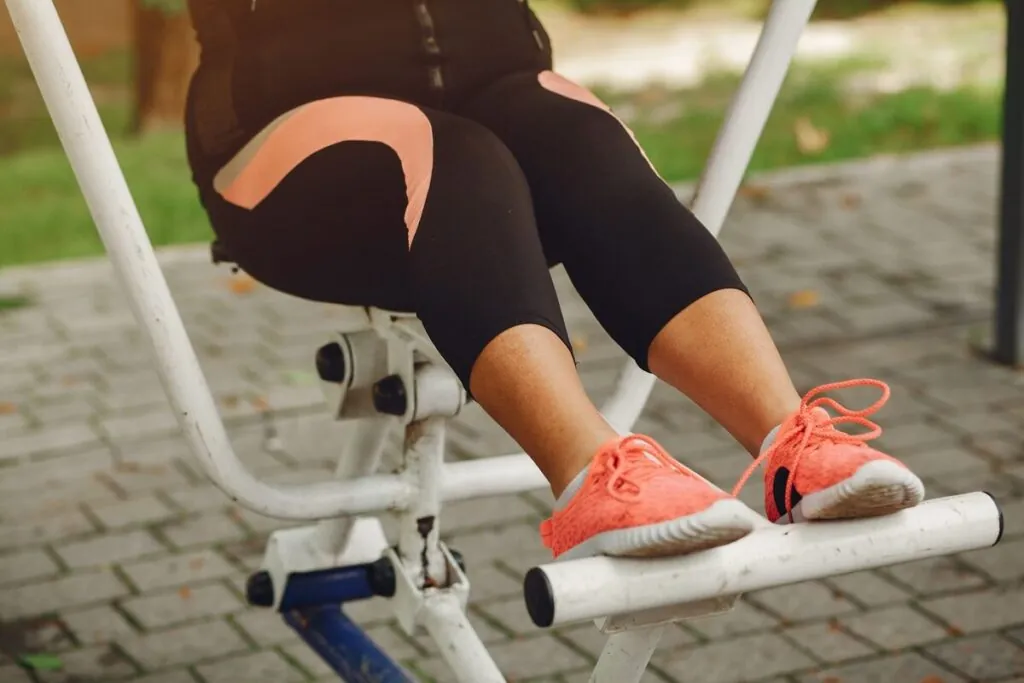
The leg extension machine is the most direct way to load the quads, and most Indian gyms have one. Adjust the seat so your knee lines up with the machine’s pivot point and the pad sits just above your ankle.
Lift for about 2 seconds, pause and squeeze at the top, then lower over 3 seconds. Use a weight you can control for 10–15 reps. If deep knee bending is uncomfortable, a physio may suggest working in a shorter range near the top first.
- Pros: simple, easy to load gradually, can be done one leg at a time to fix imbalances.
- Cons: no balance or hip work; swinging the weight up removes most of the benefit.
3. Wall sit (wall squat)
Lean your back against a wall and slide down until your knees bend to a comfortable angle, somewhere between 45 and 90 degrees. Keep your feet hip-width apart and your knees pointing over your toes.
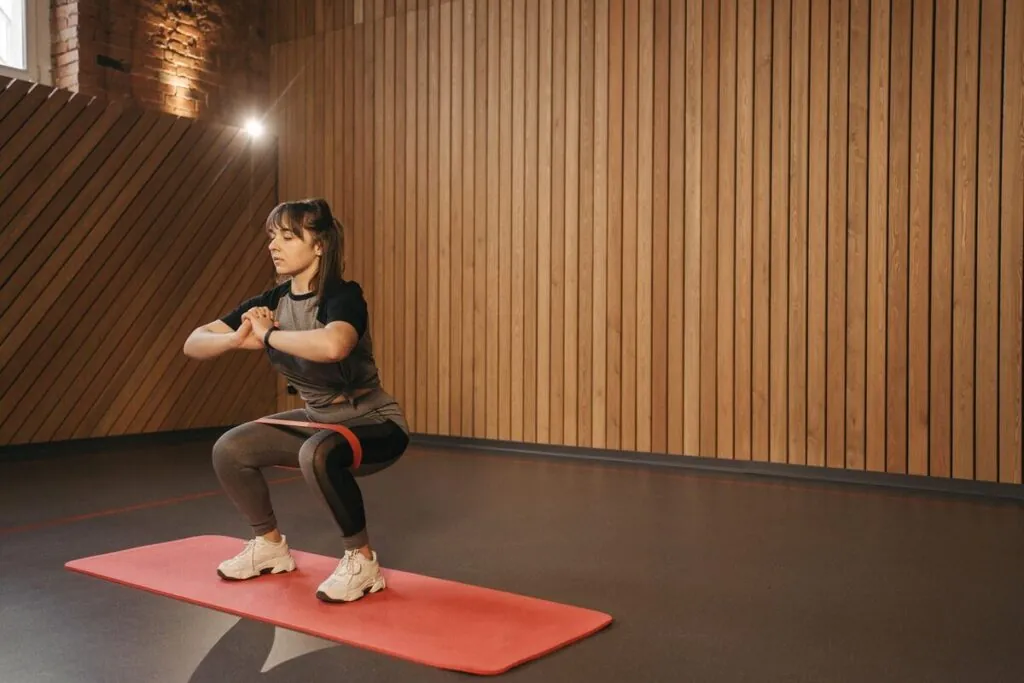
Hold for 20–45 seconds and repeat 3 times. Squeezing a soft ball or folded towel between your knees is a popular cue that many people find helps them keep their knees from caving in.
- Pros: no equipment, easy to adjust by changing depth.
- Cons: builds endurance more than strength; can get boring fast.
4. Step-down (front or lateral)
Stand on a low step (10–20 cm) on one leg. Slowly bend the standing knee and lower the other heel towards the floor, either in front of the step or off the side, then tap lightly and push back up without bouncing.
Watch your standing knee in a mirror: it should stay in line with your second toe. Do 2–3 sets of 8–12 per leg. Raise the step height only once you can do every rep smoothly.
- Pros: trains knee control for stairs and running; exposes left–right differences.
- Cons: needs balance; hold a rack or wall at first.
5. Split squat (the “VMO lunge”)
Take a medium stride with one foot forward and one back. Keep your torso tall and lower straight down, letting the front knee travel forward over the toes while the heel stays planted. That forward knee travel is what puts more work on the front thigh.
Do 3 sets of 8–12 per leg, starting with bodyweight and adding dumbbells later. A shorter stance biases the quads; a longer stance shifts more work to the glutes.
- Pros: builds real single-leg strength; needs only a pair of dumbbells.
- Cons: harder to balance than a squat; go slow until it feels stable.
6. Leg press
The leg press lets you load the quads heavily while your back is supported. Place your feet hip-width apart and a little lower on the platform to emphasise the quads, then lower until your knees reach roughly 90 degrees and press back up without locking out hard.
Do 3 sets of 10–12. Keep your lower back pressed into the seat; if it rounds off the pad at the bottom, you’re going too deep.
- Pros: easy to progress, good for people who aren’t ready for barbell squats.
- Cons: easy to ego-load; heavy weight with bad depth teaches nothing.
7. Heel-elevated goblet squat
Hold a dumbbell or kettlebell at your chest and stand with your heels on a small plate or wedge. Raising the heels lets your knees travel further forward and keeps your torso upright, which loads the quads more.
Squat down slowly to a depth you can control, pause briefly, and stand up. Do 3 sets of 8–12. This is a good bridge to barbell front squats later.
- Pros: teaches a deep, upright squat; strong carry-over to daily life.
- Cons: deep bending may not suit everyone with existing knee issues.
A simple VMO workout plan for the gym
Run this twice a week on non-consecutive days, for example Monday and Thursday. It fits neatly into the legs day of a push pull legs routine, or you can add it after an upper-body session such as these back exercises for beginners.
Weeks 1–4: foundation
- Warm-up: 5 minutes on the cycle or cross-trainer, then 2 × 15 TKEs per leg.
- Leg extension: 3 × 12–15, slow lowering.
- Front step-down: 2 × 8–10 per leg from a low step.
- Wall sit: 3 × 20–30 seconds.
- Glute bridge or side-lying leg raise: 2 × 12–15 for hip support.
Weeks 5–8: build strength
- Warm-up: 5 minutes of easy cardio plus 1 × 20 TKEs per leg.
- Heel-elevated goblet squat or leg press: 3 × 8–12.
- Split squat: 3 × 8–10 per leg.
- Leg extension: 3 × 10–12, slightly heavier than in phase one.
- Lateral step-down: 2 × 10 per leg.
Progress by adding 1–2 reps per set each week, then a little weight once you hit the top of the rep range with clean form. Muscles also need fuel to grow, so make sure your meals include enough protein; this guide to protein-rich Indian foods has easy veg and non-veg options.
How to choose the right exercises for you
- Complete beginner: TKEs, leg extensions and wall sits. Master control before adding single-leg work.
- Runners and walkers: prioritise step-downs and split squats, which mimic how your knee absorbs each stride. They pair well with a plan like this beginner walk-jog interval plan.
- Lifters: keep the leg press and goblet squats as your main lifts and use TKEs and leg extensions as accessories.
- Training at home: TKEs with a band, wall sits, step-downs on a staircase and split squats need almost no equipment. Add a few moves from a core exercise routine at home for better overall stability.
In hot, humid months, many Indian gyms have weak ventilation. Drink water between sets, wear shoes with a firm, flat sole rather than very soft running cushions, and avoid training legs on a slippery, sweat-soaked floor.
Common mistakes to avoid
- Letting the knee cave inward during squats, lunges and step-downs. Keep it over your second toe.
- Rushing the lowering phase. Most of the control you want comes from a slow, deliberate descent.
- Going too heavy too soon, especially on the leg press. Add load only when form is clean.
- Chasing “VMO-only” tricks like extreme toe-out angles instead of simply getting stronger quads overall.
- Ignoring your hips. Weak glutes are often part of the reason knees wobble.
- Training through sharp pain. Muscle burn is fine; sharp, catching or swelling-inducing pain is a signal to stop.
Knee pain or injury? Read this first
This article is general fitness guidance, not treatment for knee pain. Exercises can’t diagnose or fix a specific problem on their own, and the wrong exercise or load can aggravate some conditions.
If you have existing knee pain, a recent injury, or have had knee surgery, see a physiotherapist or orthopaedic doctor before starting. They can assess your knee and tell you which exercises, ranges and loads are right for you. Get prompt medical attention if your knee is swollen, locks or gives way, can’t take your weight, or the pain keeps you up at night.
Frequently Asked Questions
There is no single best one, because the VMO always works together with the rest of the quads. Terminal knee extensions and leg extensions are great for the final range of straightening, while step-downs and split squats build real-world control. A mix of both works better than any one move.
Stronger quads and hips are often part of rehab programmes for knee problems, but exercise alone isn’t a guaranteed fix and the right plan depends on the cause. If you already have knee pain or an injury, see a physiotherapist or orthopaedic doctor, who can decide which exercises suit you.
Two to three sessions a week on non-consecutive days is plenty for most people. Light moves like TKEs can be done more often as a warm-up. Leave at least a day between harder leg sessions so your muscles can recover.
Many people notice better control on stairs and squats within a few weeks, mostly from improved coordination. Visible muscle and meaningful strength gains usually take two to three months of consistent, progressive training.
For healthy knees, leg extensions done with controlled weight and correct seat setup are generally considered safe. People with certain kneecap or ligament problems may need to limit the range or load, so ask your physio if you have a history of knee issues.
Yes. A resistance band for TKEs, a wall for wall sits, a stair for step-downs and your bodyweight for split squats cover most of what you need. Add a backpack with books for extra load once bodyweight feels easy.
The bottom line
You can’t fully isolate the VMO, but you can train it well by building strong quads with good knee control. Combine terminal knee extensions and leg extensions with step-downs, split squats and a main lift like the leg press or goblet squat, and progress slowly twice a week.
Keep your knees tracking over your toes, respect pain signals, and get a physiotherapist or orthopaedic doctor involved if you’re dealing with an existing knee problem. Stay consistent for a couple of months and stairs, squats and sport will all feel more solid.