How to Apply False Eyelashes: A Step-by-Step Guide for Beginners
A beginner's guide to false eyelashes: picking strip or cluster lashes, applying them step by step, safe glue use, gentle removal and reuse.

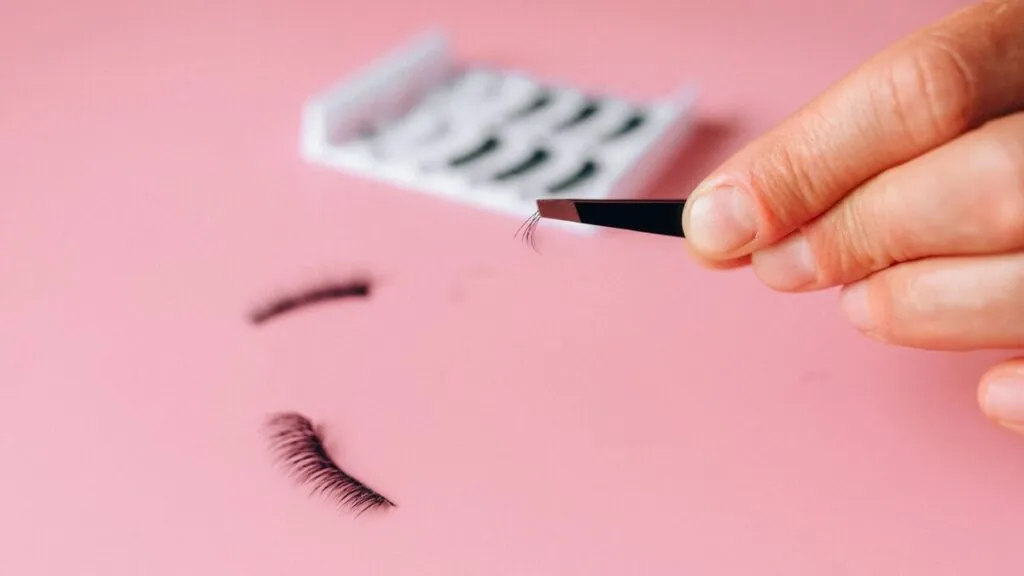
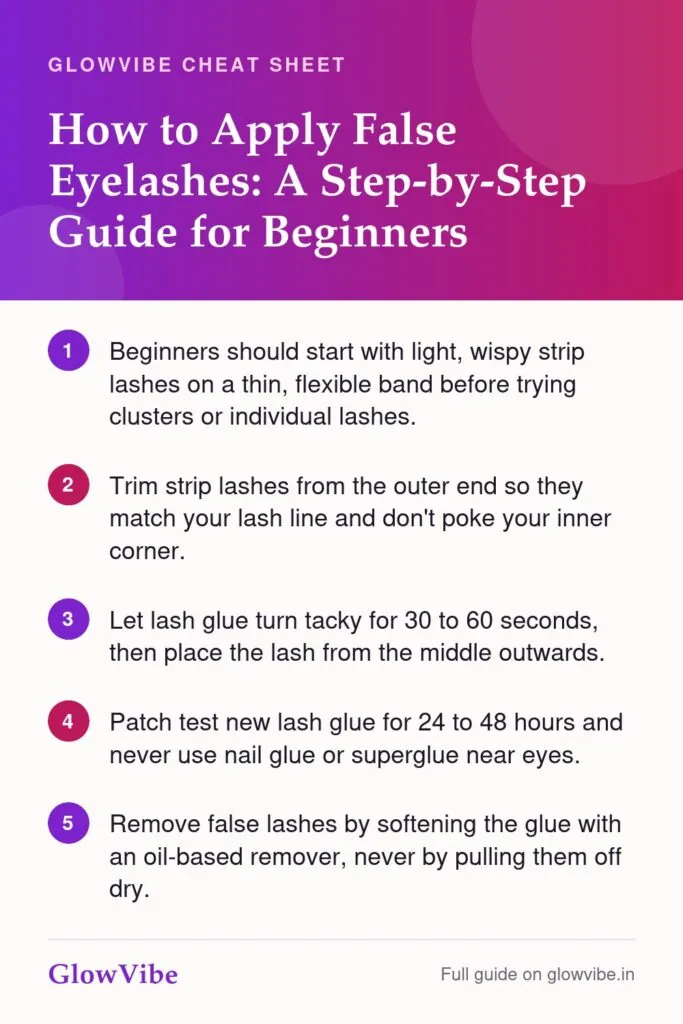
To apply false eyelashes, measure the strip against your lash line and trim it from the outer end, run a thin line of lash glue along the band, wait 30 to 60 seconds until the glue turns tacky, then place the lash from the middle of your eye and press the inner and outer corners down. Finish with a little mascara and eyeliner so your real lashes and the band blend into one. Below: choosing lashes, glue safety, gentle removal and the mistakes that make lashes lift.
Quick checklist: false lashes for beginners
- Start with a soft, lightweight strip on a thin, flexible band.
- Patch testTrying a small amount of a new product behind the ear or on the inner arm for a few days to check for a reaction before using it widely.See glossary new lash glue 24 to 48 hours before an event.
- Do your eye makeup first, then the lashes, then a final touch of liner and mascara.
- Wait for the glue to turn tacky before you place the lash.
- Remove with an oil-based remover, never by pulling, and clean the strip if you plan to wear it again.
Strip lashes vs individual and cluster lashes
False lashes come in three main forms. Strip lashes are a full row of lashes on one band that runs from the inner to the outer corner. They are the easiest for beginners. Individual lashes are single lashes or tiny flares of two or three hairs that you place one by one. Cluster lashes are small sections of lashes that you join together along the lash line.
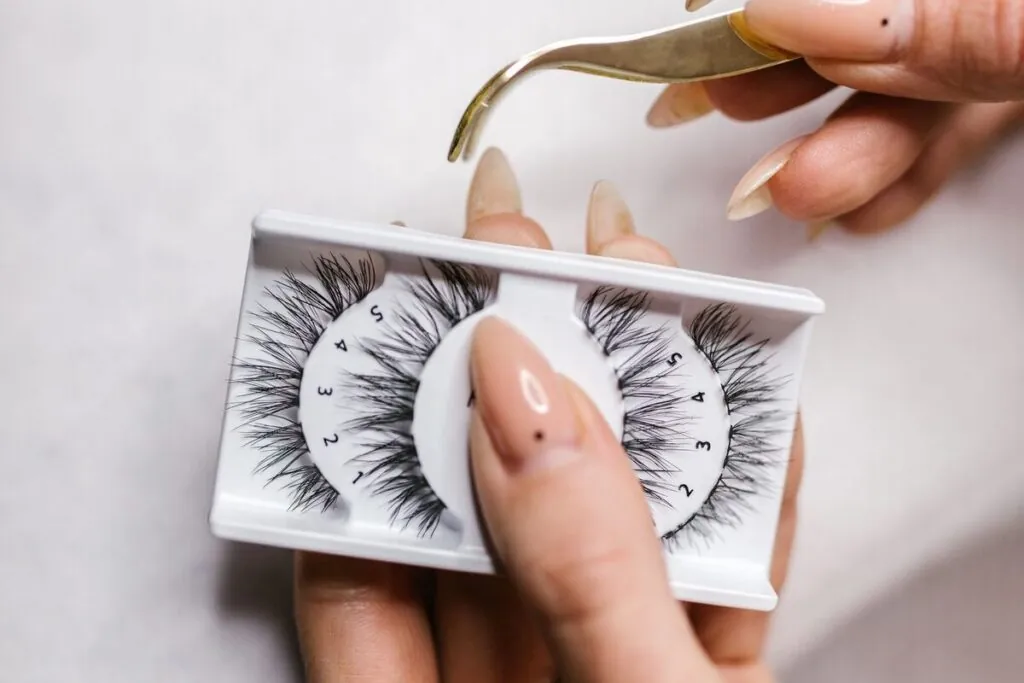
Individuals and clusters look more natural because there is no visible band, but they need time and a steady hand. Some cluster kits use a stronger bond meant to last several days, so follow the kit’s own instructions.
| Type | Best for | Difficulty | How it looks |
|---|---|---|---|
| Strip lashes | Beginners, weddings, parties, photos | Easy | Full and defined; the band can show if not blended |
| Individual lashes | Filling gaps, adding length at the outer corners | Hard | Most natural, very customisable |
| Cluster lashes | A fluffy, “my lashes but better” look | Medium | Natural to full, depending on how many you use |
How to choose a lash style for your eye shape
Every eye shape can wear false lashes. Use this as a starting point, not a rulebook.
- Hooded eyes: choose light, wispy lashes of medium length that are a little longer at the centre and outer end. Heavy lashes can press on the lid fold.
- Monolids: a thin, flexible band or cluster lashes work well. Curl your own lashes first.
- Round eyes: lashes that get longer towards the outer corner (often sold as “cat-eye” or “flared”) stretch the eye out sideways.
- Almond eyes: most styles suit you, so pick by the occasion.
- Downturned eyes: lashes that are longer at the outer end lift the eye.
- Deep-set or small eyes: lashes that are longest in the middle (a “doll” or open-eye style) make the eye look bigger and rounder.
Everyday lashes vs wedding lashes
For office, college or a day function, choose short, wispy lashes on a thin band, or a few clusters at the outer corners. For a wedding, sangeet or reception, fuller and slightly longer lashes hold up better against heavy eyeshadow, kajal, stage lighting and photos. If you are planning a full look, our wedding guest makeup guide shows how to balance lashes with eye and lip colour for each function, from haldi to the reception.
Brides should practise with the exact lashes before the wedding day, because lashes that feel fine for an hour can feel heavy after hours of rituals.
How to apply false eyelashes step by step
Keep these within reach: your lashes, lash glue, small sharp scissors, tweezers or a lash applicator, a hand mirror, an eyelash curler, mascara and eyeliner.
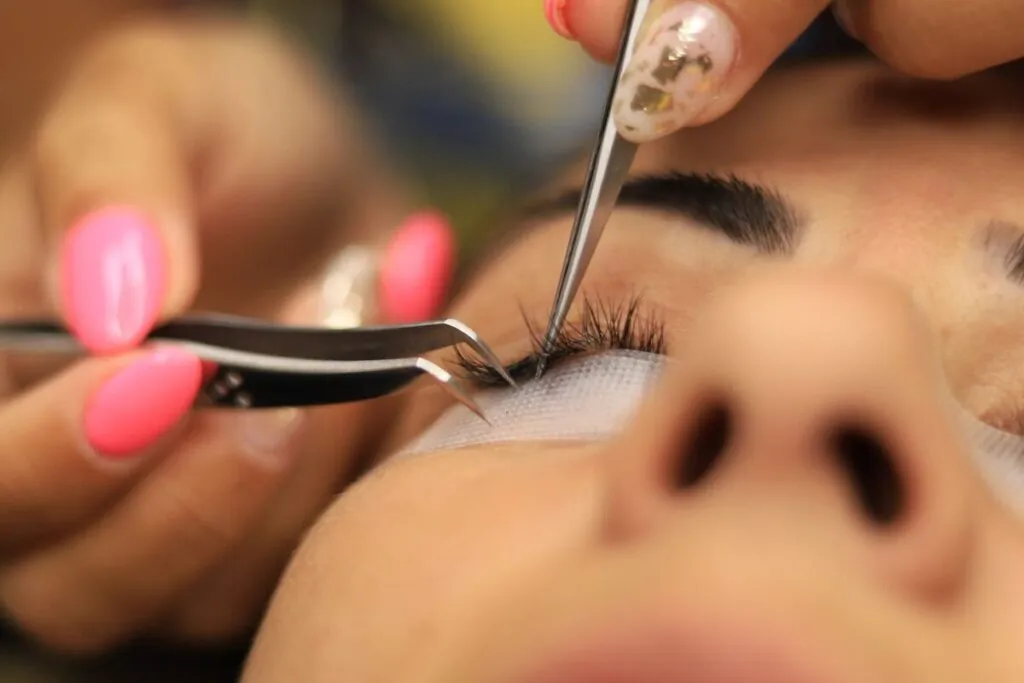
Step 1: Prep your eyes and natural lashes
Finish your eyeshadow first so powder doesn’t land on the band. Curl your natural lashes and add one thin coat of mascara so they support the false lash. Keep lids free of oil and rich eye cream, which stop glue gripping.
Step 2: Measure and trim
Peel the lash out of the tray by the band, not the lashes, and hold it against your lash line. It should start a few millimetres after your inner corner and end where your natural lashes end. If it is too long, trim it from the outer end, a little at a time. Trimming the inner end can cut off the short, tapered lashes that help it blend.
Step 3: Soften the band
A new band is often stiff. Bend it into a gentle C shape a few times so it follows the curve of your eye and doesn’t lift at the corners.
Step 4: Glue, then wait for it to go tacky
Run a thin, even line of glue along the band with the brush or the tip of the tube. Add a tiny bit more at the inner and outer ends, because that is where lashes usually lift. Now wait 30 to 60 seconds, or until the glue feels tacky. White glues also start to turn slightly see-through at this point. Beginners often skip this wait, which is why lashes slide.
Step 5: Place from the middle
Look down into a mirror held below your face, so your lid is flat and you can see your lash line clearly. Hold the lash with tweezers or an applicator and set the centre of the band down first, as close to your natural lash line as you can. Then guide the outer end into place, then the inner end.
Step 6: Press and secure
Use the closed tips of your tweezers or the back of the applicator to press the band gently along its length, holding the corners for a few seconds. Then pinch your natural lashes and the false lashes together lightly from below. Keep your eyes looking down for about a minute while the glue sets.
Step 7: Blend with liner and mascara
Run black liner or kajal along the band to hide it and any gap. Finish with a light coat of mascara, brushing upwards from the root so the two sets of lashes join. Don’t load mascara onto the false lashes, which clumps them.
For cluster and individual lashes
Work from the outer corner inwards. Dip the base of each cluster in a little glue, or apply it as your kit directs, wait for it to turn tacky, and place it right at the root of your lashes, leaving no gap. Use three to five clusters for a natural look and more for a fuller one.
Lash glue safety and patch testing
Lash glue goes on very close to your eye. Many glues contain latex, so if you have a latex allergy choose one labelled latex-free and still patch test it.
- Patch test first: put a small dot of glue behind your ear or on your inner arm and leave it for 24 to 48 hours. Redness, itching or swelling means you should not use it near your eyes.
- Use only glue made for eyelashes. Never use nail glue, superglue or craft glue.
- Keep glue out of your eye. If any gets in, rinse with plenty of clean water and see a doctor if pain, redness or blurry vision continues.
- Don’t share lashes or glue, and throw out glue that has thickened or smells off.
- Skip lashes when your eyes are unwell. That includes an infection, a stye or recent eye surgery.
If your lids itch, swell or turn red after wearing lashes, take them off, stop using that glue and see a dermatologist or eye doctor if it doesn’t settle within a day or two.
How to remove false lashes without pulling out your own
Never yank a lash off. Dried glue holds onto your natural lashes, and pulling can tug them out at the root.
- Soak a cotton pad or bud in an oil-based remover, cleansing oil or bi-phase eye makeup remover.
- Hold it over the lash band with your eye closed for 20 to 30 seconds to soften the glue.
- Hold the outer end of the band and peel it slowly towards your nose. If you feel resistance, add more remover and wait again.
- Wipe away any glue left on your lash line, then remove the rest of your eye makeup and cleanse.
Waterproof mascara and stubborn glue need a remover that can break down oils and films. Our guide to gentle mascara removers covers formulas for sensitive eyes. Follow up with a proper makeup remover face wash.
How to clean and reuse strip lashes
Many strip lashes can be worn several times if you look after them; check the pack for guidance.
- Peel the dried glue off the band with tweezers.
- Dab away mascara with a cotton bud dipped in micellar water or an oil-free remover.
- Let them air-dry, then put them back in the original tray so they keep their curve.
- Throw them out if the band is crusty or cracked, the lashes are bent out of shape, or you have had any eye irritation or infection while wearing them.
Common false lash mistakes and how to fix them
- Placing the lash while the glue is wet: it slides and lifts. Wait until the glue turns tacky.
- Too much glue: it oozes onto your lid and makes clumps. A thin line is enough, with a touch more at the corners.
- Not trimming: a strip that is too long pokes your inner corner and lifts at the outer end.
- Placing it above the lash line: this leaves a gap of skin that looks fake. Set it right at the root of your lashes, then close any gap with liner.
- Curling after the lashes are on: this can crush the band or pull out your own lashes. Always curl first.
- Choosing lashes that are too heavy: they droop, tire your eyes and look out of place in daylight. Go lighter for day events.
- Sleeping in strip lashes: it bends the lashes, can irritate your eyes and pulls on your own lashes.
For more everyday slip-ups, from caked concealer to smudged kajal, see our list of common makeup mistakes and how to fix them.
What about lash extensions and lash serums?
Lash extensions are single synthetic lashes glued to each of your natural lashes by a trained technician. They last a few weeks and need refills as your lashes shed. The glue can cause allergic reactions and heavy sets can weaken your own lashes, so choose a salon that patch tests and keeps tools clean.
Lash serums are a mixed bag. The ingredient with solid evidence for longer lashes is bimatoprost, a prescription medicine that can cause eye redness, itching and darker eyelid skin, so use it only under a doctor’s advice. Cosmetic serums with PeptidesShort chains of amino acids used in serums and creams to support firmer, smoother-looking skin. Generally gentle and easy to layer.See glossary may help lashes break less, but evidence that they make lashes grow is limited.
Frequently Asked Questions
Strip lashes applied with good lash glue usually stay put for a full day or evening. Oily lids, heat and tears loosen them sooner, so carry glue for touch-ups.
Worn now and then and removed gently, they shouldn’t. Damage usually comes from pulling them off dry, sleeping in them or wearing very heavy lashes every day.
Do your eyeshadow and a thin first line of liner before the lashes, then apply the lashes and finish with a final touch of liner and mascara.
The usual causes are a strip that is too long, a stiff band, too little glue at the ends or placing the lash before the glue is tacky.
They can be. Choose short, wispy strips on a thin band, or just two or three clusters at the outer corners. Pair them with the light base and soft colour from our natural makeup routine for beginners.
Quick poll
What does your everyday makeup look like?
Your first set gets easier with practice
Your first set may take 15 minutes; by the fourth it takes a few. Practise on a quiet evening, not a wedding morning. Choose a light lash, patch test your glue, let it go tacky, place it from the middle and always take it off with remover.