Foundation Mistakes You’re Making and How to Fix Them (2026)
Fix the foundation mistakes that make your base look cakey, ashy or orange: shade matching for Indian undertones, skin prep, blending, oxidation and setting.

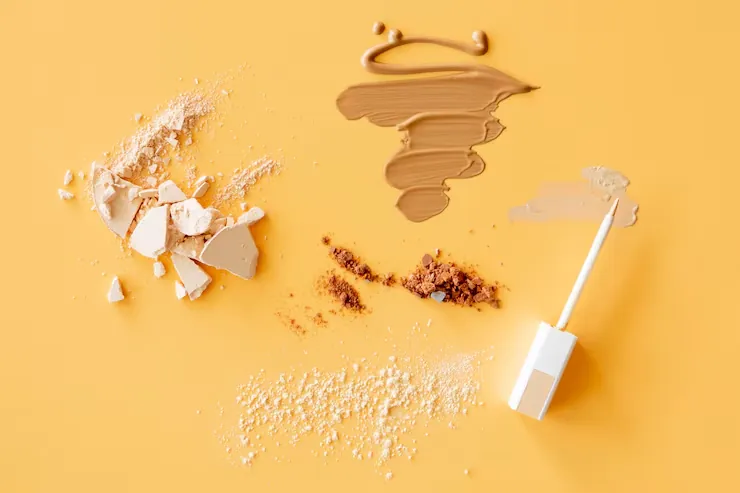
Most foundation problems come from one of a few habits: the wrong shade or undertone, skin that wasn’t prepped, too much product, patchy blending, the wrong tools, oxidation, and poor setting. Fix them and almost any decent foundation will look smooth, skin-like and stay put through an Indian summer day.
This guide sticks to foundation only. You’ll learn what each mistake looks like on your face, why it happens on Indian skin and in our weather, and exactly what to change. If you want a wider check of your whole routine, from eyeliner to lipstick, read our guide to everyday makeup mistakes.
Foundation mistakes at a glance
- Wrong shade or undertone: grey, ashy, pink or orange cast; a visible line at the jaw.
- Skipping skin prep: flakes, patches, and foundation that slides off by lunch.
- Wrong formula for your skin and climate: a heavy matte base on dry skin, or a dewy one on oily skin in humid weather.
- Too much product: a cakey, mask-like finish that settles into lines.
- Poor blending and the wrong tools: streaks, edges at the hairline and a “floating face”.
- Ignoring oxidation: foundation that turns darker or orange an hour after you apply it.
- Setting badly: either no powder (shine and melting) or too much (dry, dull, flashback in photos).
| Mistake | What you see | Quick fix |
|---|---|---|
| Wrong shade or undertone | Ashy, grey or orange face; jawline mismatch | Swatch three shades on the jaw, check in daylight, match undertone first |
| No skin prep | Dry patches, flakes, early fading | Cleanse, moisturise, sunscreen, wait, then a primer suited to your skin |
| Wrong formula | Tight, flaky base or a shiny, melting one | Hydrating or satin for dry skin; oil-free, long-wear matte for oily skin |
| Too much product | Cakey, heavy, settles into lines | Start with one pump or less; add only where you need it |
| Poor blending / wrong tools | Streaks, edges, patchy texture | Damp sponge or dense brush; blend down to the neck and into the hairline |
| Oxidation | Turns darker or orange after an hour | Test-wear before buying; go half a shade lighter; control oil |
| Poor setting | Shine and melting, or a dull, dry finish | Light powder only on oily zones; finish with setting spray |
Mistake 1: Choosing the wrong shade and undertone
Indian skin covers a huge range, from fair to deep, and most of us have warm or olive undertones. Many foundations are still built on pink bases, which is why a shade that looks right in the bottle can turn grey or ashy on your face. Picking a shade that is too light is the other common slip, often because it looks “brighter” in the shop.
How to find your undertone
- Warm (golden or yellow): gold jewellery flatters you, veins look greenish, and you tan easily. Most Indian skin falls here.
- Olive: a slightly greenish or grey-beige cast; pink-based shades look chalky and very yellow ones look too bright.
- Neutral: both gold and silver suit you and your veins look blue-green.
- Cool (pink or red): less common in Indian skin; silver suits you and you flush easily.
How to fix it
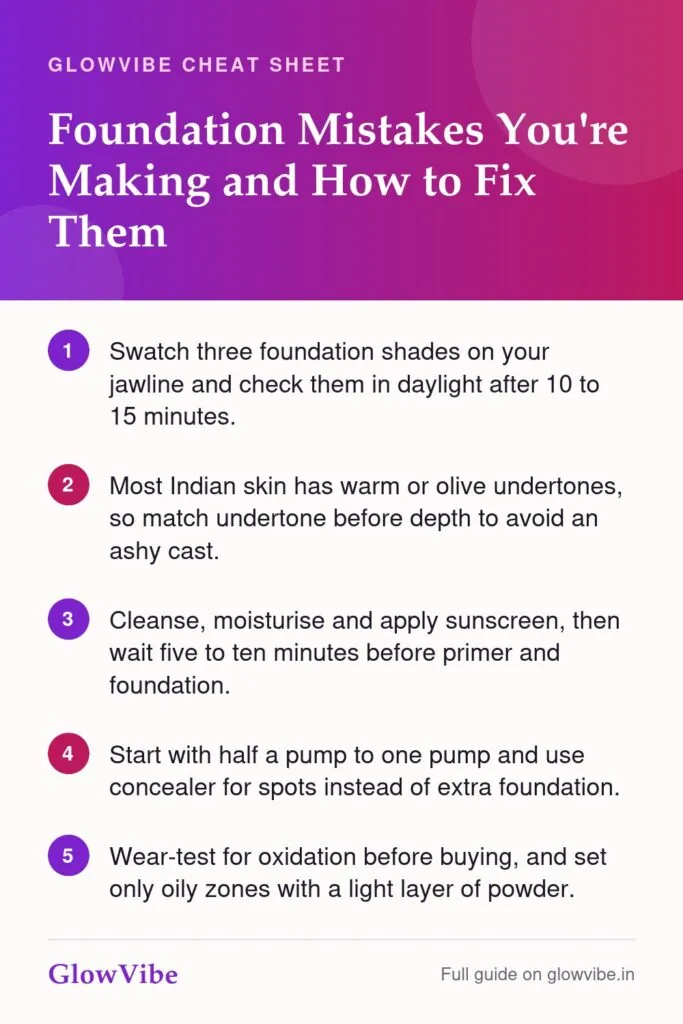
Skip the wrist test, because your wrist is usually lighter than your face. Swatch three stripes side by side along your jawline, running down onto the neck. Wait 10–15 minutes, then check in daylight near a window. The right shade is the one that disappears, not the one that brightens.
Match the undertone before the depth: a warm shade that is slightly off in depth looks far more natural than a pink one that is spot on. Remember that your face often tans more than your neck, so match to where face meets neck. Many people need two shades a year, a deeper one for summer and a lighter one for winter, and mixing the two in between works well.
Mistake 2: Skipping skin prep
Foundation only looks as good as the skin under it. On dry skin it clings to flakes; on oily or dehydrated skin it breaks up around the nose by midday. Prep takes five minutes and does more for your base than an expensive bottle.
How to fix it
- Cleanse with a gentle face wash so you start without overnight oil.
- Moisturise, even if you’re oily. Use a gel moisturiser for oily skin and a cream for dry skin.
- Apply sunscreen every day. Foundation SPF (sun protection factor)A measure of protection against UVB rays, which cause sunburn. SPF 30 blocks about 97% of UVB and SPF 50 about 98%, if you apply enough and reapply.See glossaryRead the guide is too thin a layer to count as protection.
- Wait 5–10 minutes so skincare sinks in. Applying foundation on wet skincare is a major cause of pilling and patchiness.
- Prime where needed: a mattifying or pore-filling primer on the T-zone, a hydrating one on dry cheeks.
- Oily or acne-prone skin: oil-free, long-wear matte or soft-matte liquids. Widely sold options such as Maybelline Fit Me Matte + Poreless are built for this skin type.
- Dry or mature skin: hydrating, satin or dewy formulas; avoid full-matte bases, which emphasise texture.
- Combination skin: a satin finish, with powder only through the T-zone.
- Hot, humid days: go lighter. A skin tint, BB cream or a sheer layer of foundation lasts better than a thick one.
- Blend in good light, ideally daylight, not only under a warm bathroom bulb.
- Use pressing or bouncing motions with a sponge rather than wiping, which drags product around.
- Take it slightly under the jaw and onto the neck, and feather it into the hairline and around the ears.
- Go lightly around the nose and eyes, where product collects. A clean sponge corner removes extra.
- Damp sponge: the most forgiving choice for a natural finish. Wet it fully, then squeeze out all the water until it’s just damp.
- Dense flat-top or buffing brush: best for fuller coverage; buff in small circles, then press with a sponge to remove brush marks.
- Fingers: fine for skin tints and BB creams, as the warmth helps them melt in.
- Clean regularly: wash sponges after every few uses and brushes weekly with a mild cleanser, then let them dry fully. Replace sponges that tear or won’t come clean.
- Wear-test before buying: ask for a sample or swatch in store, then check it again after an hour or two outdoors.
- If a foundation you love oxidises, try half a shade lighter or mix in a drop of a lighter shade.
- Use a mattifying primer on oily areas, since less oil usually means less colour change.
- Check the expiry and replace old bottles. Foundation left open in heat changes faster.
- Press a light layer of translucent or skin-matched powder only on oily areas: forehead, nose, chin, under the eyes.
- Use a fluffy brush or a powder puff, pressing rather than sweeping so you don’t move the foundation underneath.
- Finish with a setting spray, held at arm’s length, for humid days and long events.
- For touch-ups, blot oil with blotting paper first, then add a little powder. Adding powder over oil causes cakiness.
- Cleanse, moisturise and apply sunscreen. Wait 5–10 minutes.
- Prime only where you need it (mattifying on the T-zone, hydrating on dry areas).
- Dot half a pump to one pump of foundation on the centre of the face.
- Blend outward with a damp sponge or dense brush, down onto the neck and into the hairline.
- Add a second thin layer or concealer only where you need more coverage.
- Press powder onto oily zones and finish with setting spray.
- Check in daylight before you leave, and remove it fully at night with a proper makeup remover face wash or cleanser.
Primer has to suit your foundation’s base too, or the two can separate. Our guide to water-based vs oil-based primer explains how to pair them. If your skin is very dry, a few drops of oil can help, but use it the right way so your base doesn’t slide: see face oil for makeup.
Mistake 3: Using the wrong formula for your skin and weather
A foundation can be the perfect shade and still look wrong because the formula doesn’t suit your skin. Indian weather makes this worse. Humid monsoons and coastal cities melt dewy bases, while dry north Indian winters make matte formulas cling to every flake.
How to fix it
Mistake 4: Applying too much foundation
More foundation doesn’t mean more even skin. A thick layer sits on top of the face, settles into smile lines and pores, and in heat it separates faster. It also looks heavy in daylight and in phone photos.
How to fix it
Start with half a pump to one pump for the whole face. Dot it on the centre of the face, where most redness and unevenness sits, and blend outward so the edges are sheerest. Then look in the mirror and add a second thin layer only where you still need coverage.
For dark circles, pigmentation or a spot, use concealer on just that area instead of piling on more foundation everywhere. Your skin should still look like skin, with a little texture showing through.
Mistake 5: Not blending properly
Rushed blending leaves streaks, patches around the nose and a clear edge at the jaw or hairline. That edge is what makes foundation look like a mask, even when the shade is right.

How to fix it
Mistake 6: Using the wrong tools (or dirty ones)
Fingers work for sheer tints, but for most liquid foundations they can leave uneven spots. A scratchy or loose brush leaves stripes, and a dry sponge soaks up product and leaves it patchy. Dirty tools are worse: they spread old oil and bacteria, which can cause breakouts.

How to fix it
Mistake 7: Ignoring oxidation
If your foundation looks perfect in the mirror but darker or orange an hour later, it’s oxidising. Foundation reacts with air and your skin’s oil, and pigments can deepen as the formula dries down. Oily skin and heat, both common in India, make it more noticeable.
How to fix it
Mistake 8: Setting it wrong (or not at all)
Unset foundation shifts with sweat and transfers onto masks and phones. Over-powdering is the opposite problem: it makes skin look flat, dry and older, and some powders give a white cast in flash photos.
How to fix it
Not sure which powder suits your skin? Our guide to makeup face powder breaks down loose, pressed and compact options.
How to apply foundation flawlessly: step by step
For long events such as weddings, the same steps apply with a long-wear formula and a little more setting. See our wedding guest makeup for Indian skin for full looks built on this base.
Oily skin? Compare Lakmé vs Maybelline foundation for oily skin.
Frequently Asked Questions
Swatch it on your jawline, not your wrist, and check in natural daylight after 10–15 minutes. The right shade blends into your face and neck with no visible line. If it looks grey or ashy, the undertone is too pink; if it looks orange, it’s too warm or it has oxidised.
That’s oxidation, where the formula reacts with air and your skin’s oil as it dries down. It’s more common on oily skin and in heat. Wear-test before buying, choose half a shade lighter, and use a mattifying primer to reduce oil.
Usually it’s too much product, too much powder, or applying over dry or still-wet skincare. Use less foundation, moisturise and wait before applying, and powder only oily areas. Exfoliating gently a couple of times a week also helps foundation sit smoothly.
Primer is optional, but a hydrating one helps foundation glide on and stop clinging to dry patches. A good moisturiser that has fully absorbed can do a similar job. Avoid mattifying primers on dry areas, as they emphasise flakes.
Use a gel moisturiser, a mattifying primer and a thin layer of oil-free, long-wear foundation. Set the T-zone with powder and finish with setting spray. Blot during the day before touching up so you don’t layer powder over oil.
A damp sponge gives the most natural, skin-like finish and is easiest for beginners. A dense brush gives more coverage with less product. Many people buff with a brush, then press with a sponge to remove any streaks.
Heavy formulas, dirty tools and sleeping in makeup can all clog pores. Choose Non-comedogenicA label meaning a product is formulated not to clog pores. Useful for acne-prone skin, though it is not a regulated or guaranteed claim.See glossaryRead the guide or oil-free formulas if you’re acne-prone, wash tools regularly and always remove makeup at night. If breakouts or irritation continue, stop the product and see a dermatologist.
Quick poll
What does your everyday makeup look like?
The bottom line
Flawless foundation is mostly technique. Match your undertone on the jawline in daylight, prep your skin, choose a formula that suits your skin and the weather, use less than you think, blend with clean tools, and set only where you shine.
Fix one or two of these mistakes at a time and you’ll see the difference within a week. Your base will look lighter, more like skin and last much longer through the day.