HD Makeup: What It Is and How to Do an HD Makeup Look (2026)
What HD makeup really means, how it compares with regular and airbrush makeup, and a simple step-by-step HD look for brides, parties and camera-ready skin.

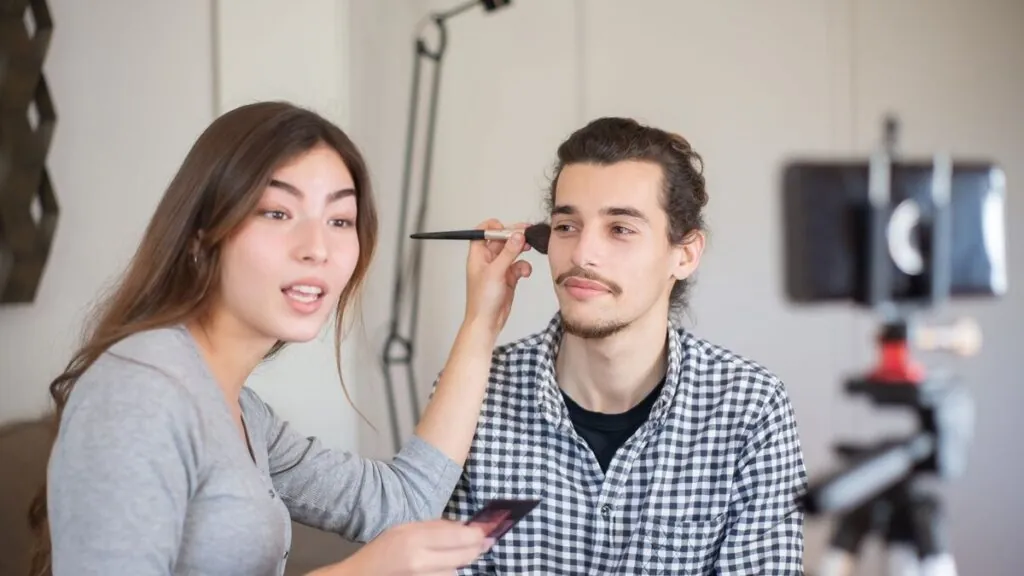
HD makeup is makeup made with thin, buildable, finely milled formulas that diffuse light, so your skin looks like skin, not a mask, on high-resolution cameras, phone photos and in person. You can do an HD makeup look at home by prepping well, using very little foundation, concealing only where needed and powdering only where you get oily.
This guide covers what HD really means, how it differs from regular and airbrush makeup, a step-by-step routine, what brides should ask their makeup artist, and how to make it last in Indian heat and humidity.
What Is HD Makeup?
“HD” comes from high-definition television. When TV moved to HD, the cameras started picking up every pore, every patch of thick foundation and every dry flake. Makeup artists needed products that covered well but stayed invisible on screen, and that is how the HD category was born.
Today, “HD” is more of a technique and a finish than a single ingredient. HD makeup products usually share a few traits:
- Thin, fluid textures that spread into a fine layer instead of sitting on top of the skin.
- Buildable coverage, so you add product only where you need it.
- Light-diffusing pigments and powders that soften the look of pores and texture rather than filling them with paste.
- A natural, skin-like finish, usually satin or soft matte, not flat and chalky.
The label on the box matters less than how you apply it. A regular foundation used in thin layers can look “HD”, while an HD foundation slathered on can look cakey.
HD Makeup vs Normal Makeup vs Airbrush Makeup
These are the three terms you will hear most, especially when booking a bridal artist. Here is how they compare in practice.
| Feature | Regular makeup | HD makeup | Airbrush makeup |
|---|---|---|---|
| How it is applied | Brush, sponge or fingers; often heavier layers | Damp sponge or brush in thin, targeted layers | Sprayed on with a compressor and airbrush gun |
| Finish | Varies; can look heavy on camera | Natural, skin-like, soft-focus | Very smooth, even, often slightly “perfected” |
| Longevity | Moderate; depends on products | Good with proper prep, powder and setting spray | Usually very good, often water-resistant formulas |
| Best skin types | Most skin types for daily wear | Most skin types, including dry and textured skin | Normal to oily; can cling to very dry patches |
| Camera performance | Can show texture and flashback | Designed for close-up and high-resolution shots | Excellent for photos and video |
| Cost tier | Budget to mid-range | Mid-range to premium | Premium (artist, equipment and products) |
| DIY at home? | Yes | Yes, with practice | Hard without equipment and training |
Airbrush vs HD makeup: which should you pick?
Pick airbrush if you have oily or normal skin, want very long wear through a long function, and your artist is genuinely skilled with the gun. Pick HD if your skin is dry, flaky or textured, you prefer a more “your skin but better” look, or you want something you can recreate yourself for later functions. Many artists combine the two: an HD base with airbrush for setting or touch-ups.
HD Makeup Products Worth Knowing
You do not need a full new kit. These are well-known HD makeup products and photo-friendly staples that are easy to find in India, across budgets:
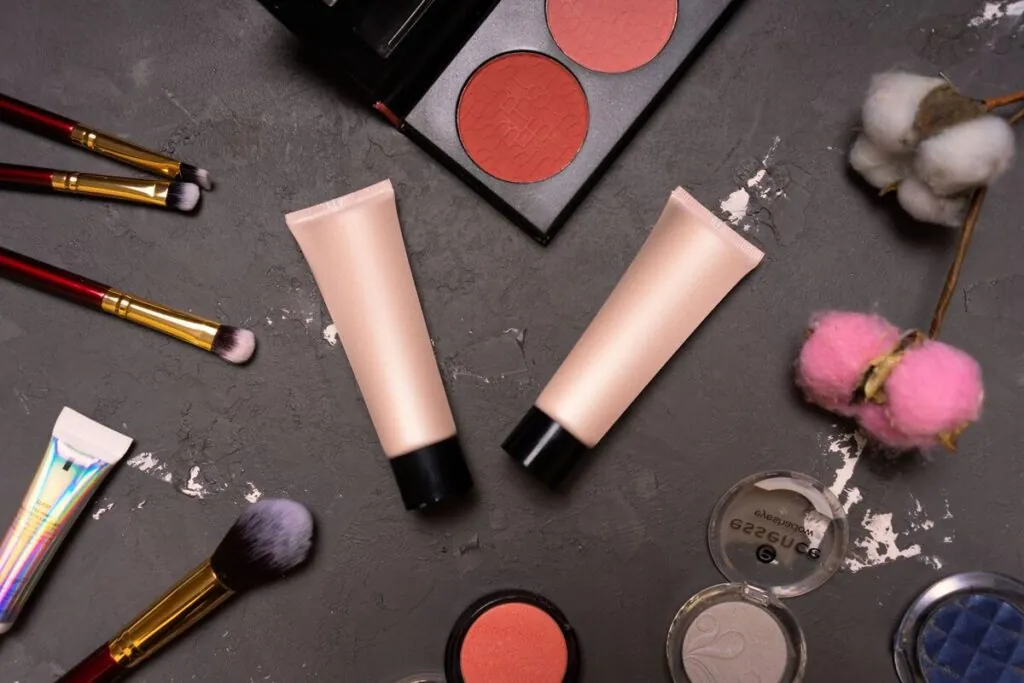
- Make Up For Ever HD Skin Foundation (premium): the product most people mean when they say “HD foundation”. Lightweight, buildable, made for camera work and a favourite with bridal artists.
- M.A.C Studio Fix Fluid SPF (sun protection factor)A measure of protection against UVB rays, which cause sunburn. SPF 30 blocks about 97% of UVB and SPF 50 about 98%, if you apply enough and reapply.See glossaryRead the guide 15 (premium): fuller, matte coverage that suits oily skin and long events. Use it thin for an HD finish.
- Lakmé Absolute Skin Natural Mousse (mid-range): a light, matte mousse foundation that blends easily and works well in humid weather.
- Maybelline Fit Me Matte + Poreless Foundation (budget): a wide shade range for Indian skin tones and a soft-matte finish for normal to oily skin.
- Huda Beauty Easy Bake Loose Baking & Setting Powder (premium): a finely milled loose powder for setting the under-eyes and T-zone. Test it in flash photos first (more on that below).
- M.A.C Prep + Prime Fix+ (premium): a popular setting and refreshing spray that melts powder into the skin.
For touch-ups on the go, a good pressed powder helps. See our list of the best compact powders for oily skin and humidity.
How to Do an HD Makeup Look: Step by Step
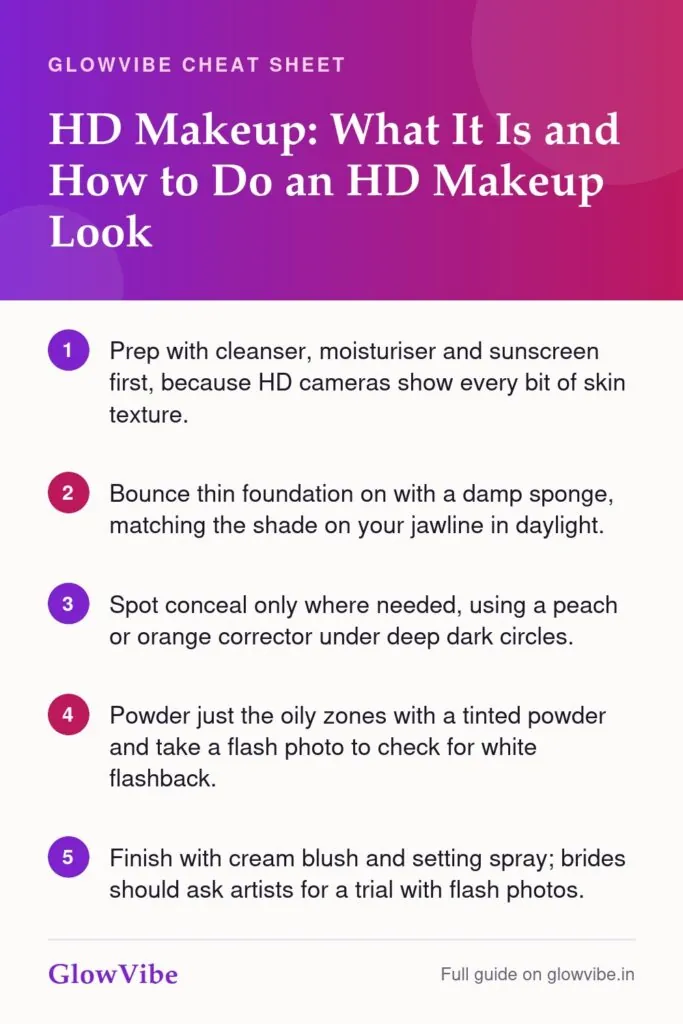
The golden rule of HD makeup is thin layers, placed only where they are needed. Follow these steps in order.
Step 1: Prep your skin
HD cameras show texture, so skin prep matters more than any product. Cleanse with a gentle face wash, then use a lightweight moisturiser and give it a few minutes to absorb. Dry skin needs a richer cream; oily skin does better with a gel. In the daytime, finish with sunscreen and let it settle before the next step.
Skip heavy face oils right before makeup. They can make foundation slide and separate within an hour.
Step 2: Apply primer where you need it
Use a mattifying or pore-blurring primer on the T-zone and any large pores, and a hydrating primer on dry cheeks. You do not have to prime your whole face. If you are unsure which formula works under your foundation, our guide to water-based vs oil-based primer explains how to match them.
Step 3: Thin foundation with a damp sponge
Take one or two pumps of foundation on the back of your hand. Dampen a makeup sponge, squeeze out the excess water, and bounce the foundation onto the centre of your face first, then blend outwards. The damp sponge sheers the formula and presses it into the skin instead of leaving a layer on top.
Match the shade on your jawline in daylight. A foundation that is too light or too pink looks grey on camera, which is a common problem on wheatish and dusky Indian skin tones.
Step 4: Spot conceal
Instead of adding more foundation, use a small amount of concealer only on dark circles, spots and redness. For deep under-eye pigmentation, a peach or orange corrector underneath helps cancel the darkness so you need less concealer on top. Tap it in with your ring finger or the tip of your sponge.
Step 5: Light-diffusing powder, only where needed
Press a small amount of finely milled powder onto the areas that get oily or crease: the T-zone, around the nose, chin and under the eyes. Leave the high points of your cheeks less powdered so your skin still looks alive.
Watch out for white flashback. Many HD and “invisible” setting powders contain silica, which reflects camera flash and can leave white patches under the eyes in photos, even if it looks perfect in the mirror. To avoid it:
- Use a very small amount and buff away every bit of excess after baking.
- Choose a tinted powder close to your skin tone rather than a pure white translucent one, especially on medium and deep skin.
- Take a flash photo on your phone before you leave. If you see white patches, blend them out or mist with setting spray.
Step 6: Cream products for colour
Cream blush, cream bronzer and cream or liquid highlighter melt into the skin and look more natural on high-resolution cameras than heavy powders. Apply them before powdering, or sparingly after. Keep highlighter on the tops of the cheekbones only; on camera, a lot of shimmer can read as oiliness.
Finish your eyes and lips as usual. Fill brows with soft strokes, keep eyeshadow well blended (HD shows harsh edges), and line your lips before applying colour for longer wear.
Step 7: Setting spray
Mist a setting spray in an “X” and “T” pattern from arm’s length. It takes away any powdery look, blends the layers together and helps your makeup survive heat. For long functions, let the first layer dry and add a second.
HD Bridal Makeup: Looking Good on Camera
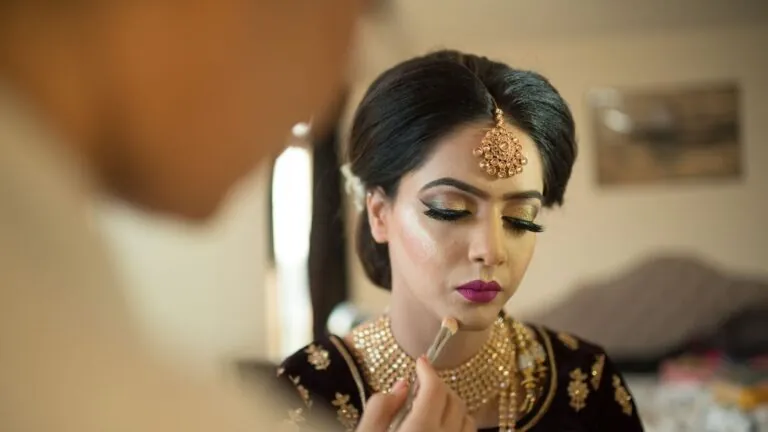
HD bridal makeup is popular because wedding photographers and videographers now shoot on high-resolution cameras with strong lights and flash, and close-up reels are part of every wedding. A base that looks fine in the mirror can look heavy or patchy in those shots, so HD techniques make a real difference.
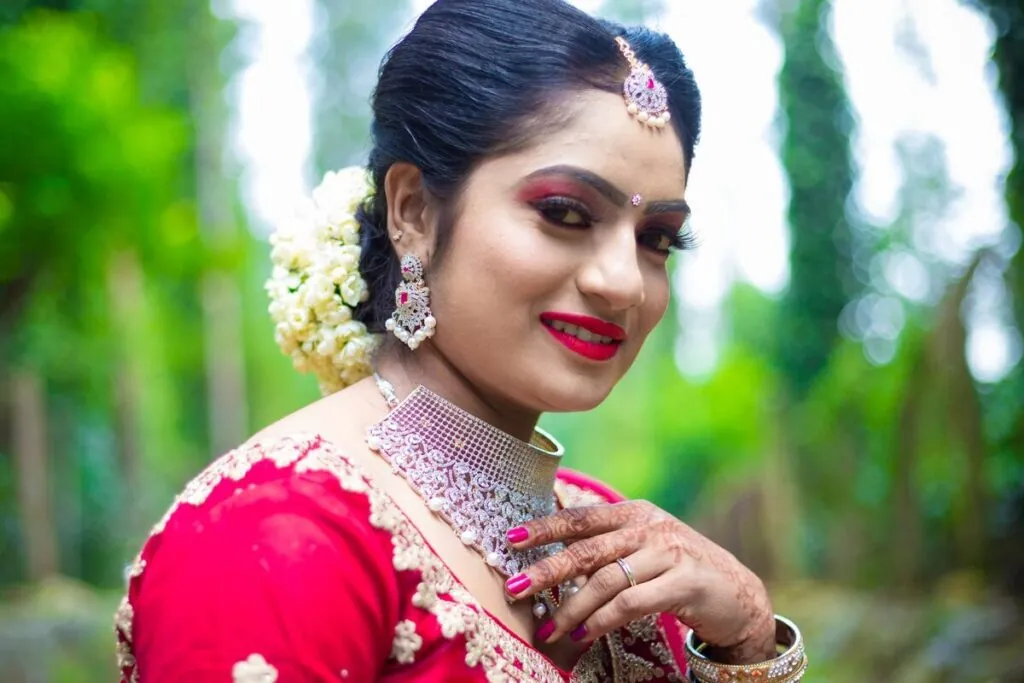
Your skin matters most. Starting a pre-bridal skin care routine 30 days before gives you a smoother canvas so you need less product on the day. If you want your own kit for touch-ups and smaller functions, check our bridal makeup kit list.
Questions to ask your makeup artist
- Is your “HD package” a technique and product range, or just a price tier? Which foundation and powder will you use?
- Can I see unedited photos and videos of brides with my skin tone and skin type?
- Do you do a trial, and will you take flash photos during it to check for flashback?
- How will you match my face to my neck and hands so they look the same in photos?
- How long will the base last, and what will you leave with me for touch-ups?
- Is airbrush, HD or a mix better for my skin and the weather at my venue?
Attending rather than getting married? The same principles apply. Our guide to wedding guest makeup for Indian skin has looks from haldi to reception.
HD Makeup for Your Skin Type and Indian Weather
- Oily skin: use a gel moisturiser, a mattifying primer on the T-zone and a matte foundation. Blot with blotting paper before re-powdering so you do not build up layers.
- Dry skin: hydrate well, use a satin or dewy foundation and powder only the sides of the nose and under-eyes. Cream blush works better than powder.
- Combination skin: treat your face in zones, with mattifying products in the centre and hydrating ones on the cheeks.
- Sensitive or acne-prone skin: patch-test new products on your jaw a few days before an event. If you get redness, itching or breakouts, stop using it and see a dermatologist if it does not settle.
Humid weather (Mumbai, Chennai, Kolkata, the monsoon): go lighter on foundation, rely on primer and setting spray, and carry blotting sheets. Dry heat (Delhi summers, Rajasthan): prep with more moisture, as powder can look flaky on dehydrated skin. Winter weddings in the north: exfoliate gently a couple of days before and keep your lips well moisturised so lipstick does not settle into dry lines.
Common HD Makeup Mistakes
- Too much foundation: HD formulas are designed to be used thin. More product means more texture on camera.
- Baking heavily with white powder: the main cause of flashback in wedding photos.
- Choosing a shade that is too light: it looks ashy and grey in photos, and the face no longer matches the neck.
- Skipping skin prep: dry patches and flakes show more clearly with thin, sheer makeup.
- Too much shimmer: heavy highlighter can look like sweat under strong lights.
- Not checking in daylight and flash: always check in natural light and take a flash photo before you leave.
- Sleeping in makeup: long-wear formulas need proper removal. Our makeup remover face wash guide covers how to take it all off gently.
Frequently Asked Questions
HD makeup uses thinner, finely milled, light-diffusing formulas applied in sheer layers so it looks natural on high-resolution cameras. Normal makeup is often applied more heavily and can show texture, lines or flashback in close-up photos. The technique matters as much as the product.
Neither is better for everyone. Airbrush gives a very smooth, long-lasting finish and suits oily and normal skin, while HD looks more like real skin and is kinder to dry or textured skin. Ask your artist to do a trial of whichever they recommend and check the results in photos.
With good skin prep, primer, targeted powder and setting spray, an HD base can last through most of a long function. Heat, humidity and oily skin shorten wear time, so carry blotting paper and a compact for touch-ups.
Yes. You need a lightweight foundation, a damp sponge, a concealer, a finely milled powder and a setting spray. Practise a few times before your event and check your look in daylight and in flash photos.
This is flashback, usually caused by too much silica-based setting powder or an SPF that reflects flash. Use less powder, buff off the excess, choose a tinted powder that matches your skin, and test with a flash photo before leaving.
Yes, as long as you keep layers thin. Use a mattifying primer, a matte foundation such as Maybelline Fit Me Matte + Poreless or Lakmé Absolute Skin Natural Mousse, powder only the T-zone and finish with setting spray. Blot rather than adding more powder through the day.
Quick poll
What does your everyday makeup look like?
The Bottom Line
HD makeup is less about the label and more about the method: good skin prep, thin layers, product only where you need it, and a final check in daylight and flash. Get those right and your makeup will look natural in person, in photos and on video. Practise once or twice before a big day, and you will know exactly what works for your skin.